Showing posts with label before and after. Show all posts

Thursday, August 7, 2014

#79: Update Tea Cart


I bought this ol' gal at an estate sale earlier in the Spring. Yes, I overpaid at $20, but I felt like it was a wise investment as patio furniture or a future display for my felt flowers. For $2 in spray paint I gave the cart a few coats of white paint and used it as a drink cart at our last get together. I still plan on changing out the wheels, when I finally find the right size, but it's adorable and perfect for our little porch landing!


I also love the assortment of goods on this cart: Straws from Ikea that Emily and I hoarded about 5 years ago. The flower tin tray is from my Thailand trip. The bar set was a housewarming present from Emily. Handmade felt flowers. The wood slab will be part of our wedding centerpieces. And of course, Smartmouth!

I'm participating in the 92 Days of Summer challenge. Click here to read all about it and here to a see a gallery of pictures of everyone participating. 

Monday, December 30, 2013

Favorite Projects of 2013

It's been a great crafty year! I wanted to highlight some of my favorites from 2013, in no particular order :)


Bringing back the Felt Brooches, in all seasons. They were a huge hit with the customers this year and I have so much fun making them!


Norfolk's first Better Block, held in April. I met my good friend John Wharton and his wife Patricia - along with tons of other amazing people in the arts community. We opened our first Pop Up Shop and had a fantastic weekend running the show.


Thomas' Smash the Cake session in June. It really tested me as a(n amateur) photographer, working with babies isn't easy...but it's fun!


A year of felt food, which included nachos, donuts, salads, pita sandwiches, caramel apples, mini cupcakes, cheese wheels, blueberries and a custom-made horse food set. The horse set was my favorite, by far!


Another successful 92 Days of Summer...is it bad I'm already planning for 2014?


My felt flowers have been a long time coming and while they are still taking a while to become a big seller, I think 2014 has much more in store. 


Custom-designed wedding invitations a very awesome couple.


Refinished China hutch, a nice thrifty before and after. 


A second opportunity with Better Block, this time strictly on the design and marketing side of things. 

Thursday, August 29, 2013

Thrifty Thursday: Before & After


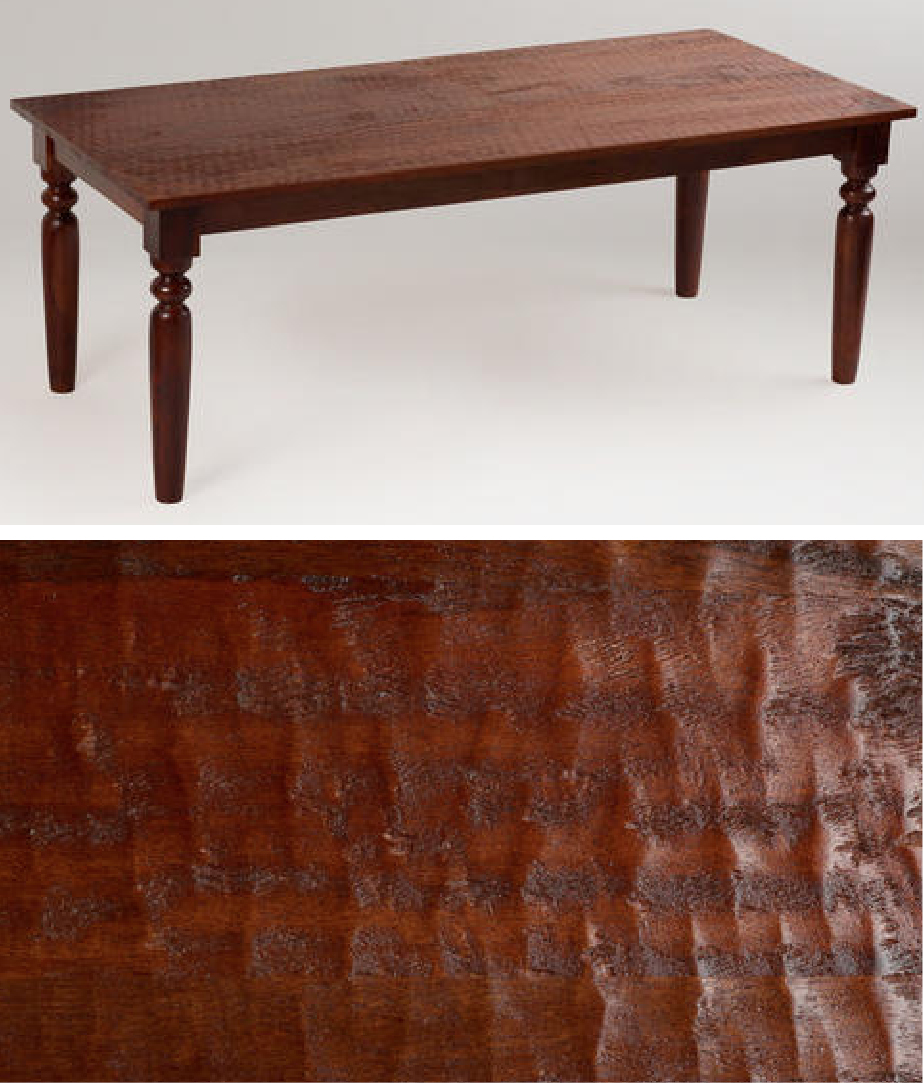
We bought this buffet and hutch for $100 from one of Mike's Dad's contractors with the idea that we'd refinish it or sell it and make a few bucks. When Barney dropped the piece off it was in need of a little TLC, so we cleaned it up with some Old English the previous homeowners left us. Surprisingly, it looked really nice! However, it still didn't match our brand new table that looks almost identical to this one from World Market.


I listed the piece on Craigslist and it sat for about three weeks. Since our housewarming party was nearing and I didn't want this unmatching piece hogging the spotlight I got to work on researching techniques for "refinishing cherry wood to look like world market table." You can imagine how many search results I found: exactly Zero. After talking to a Home Depot employee (who didn't actually roll their eyes at this project), I decided I would have to make up my own technique. I bought black paint, black varnish and a pack of plastic gloves for $10.


We removed all the hardware and wiped down the cabinets. Then Mike got to work "distressing" the wood by take a hammer to it. We decided that using all the different edges worked best to give it the super textured look. Next, I took the electric sander and went light over the entire surface and much harder in only a few areas for that weathered look. Using a damp cloth, wipe the surface completely clean.


Instead of a "white wash" that I'm sure you've heard of, I made a "black wash." It consisted of 1 part flat black paint to two parts water. I gave it a stir and painted it on. Oh, and this would be the point you need to put on your gloves.


Because you're going to take a rag and wipe all the paint off. You want to make sure the black wash has covered all the surfaces, but don't be too worried if it looks too dark at first. I left the wash on anywhere between 5 and 10 minutes. I tried to work fast, but with the bottom it was harder to get through all the sides quickly. Just make sure the paint doesn't dry before you can wipe it off.

Here is the hutch after hours of hammering it. I'm glad this was Mike's task!


Once your black wash is completely dry, open up your can of black varnish. I cannot stress enough to make sure both hands are gloved! Take a dry rag and dip into the varnish, wipe on the wood with the grain. You're almost going to massage the varnish into the wood, I'll warn you, this is the tricky part. You don't want to use too much varnish because it'll be sticky as it dries and smudgie (trust me, I learned this the hard way). Just use a little as you go and be sure to wipe away any excess. We experimented with the drawers one day and let them dry over night, I tweaked the process from that - if you have the time, try it that way.


Grandma's mash potato dish, Great-Grandma's fondue dish, Haviland Wedding China
passed down through generations, a house warming gift, a graduation gift,
a Moroccan treasure and a gift from a strange. Everything has a story, everything has a place in my heart.

As you can see, the final product turned out pretty close to our table. The piece fits in the room much better and while we may not have it forever, I'm certainly happy with our $110 project!

Make sure you have these essentials!
Cotton rags or your boyfriend's old undershirts (lots of them)
Several pairs of rubber gloves
Electric hand sander
sandpaper
flat black paint
black varnish
a tarp or drop cloths
paint brushes
jar with lid (to mix the paint and keep overnight)


I am happy to use this as my "No. 27 Freebie." I'm participating in the 92 Days of Summer challenge. To learn more about it, click here.

Monday, August 26, 2013

#42: Alchemy NFK


There is so much happening in the Arts District right now. Alchemy NFK is coming right along and is scheduled to open in September. They are asking for volunteers to come out and help do anything from painting to sweeping, so see what their needs are here. The home of Fairview Place and Glass Gardens has been rumored to be part of The Beauty Parlor's expansion, as a coffee shop (I noticed it got new windows in the second level)! The Zedd's building is set to be torn down any day, with hopes to relocate The Plot there. The Texaco Building has been purchased by The Hurrah Players for their new set- and prop-building location. A skate ramp is being added on Wilson Avenue and according to Norfolk Live, Magazine Lane Properties, LLC has purchased three properties on Magazine Street.


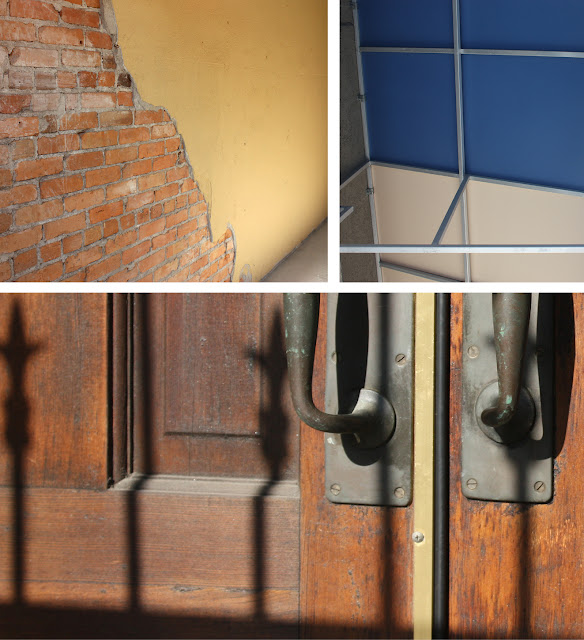
I took myself on a date this morning to the Arts District. With my Yorgo's coffee and camera in hand I spent about an hour and a half, walking around taking pictures. A lot of people just see buildings that haven't changed much. But if you take a closer look, there is change happening in every form - from entire buildings to rust on a lock. From lightbulbs to blooming flowers, it's all taking shape.

So, the big question is, how well do you know the Arts District? Can you easily identify the pictures below? Most of them are probably pretty easy, but go ahead, test your knowledge of the District.

top (1), left (2), right (3)

left top (4), left bottom (5), right top (6), bottom (7)

top (8), bottom left (9), bottom right (10)

top left (11), top right (12), bottom (13)

top left (14), top right (15), middle (16), bottom left (17), bottom right (18)

top (19), bottom (20)

top left (21), top right (22), bottom (23)

left top (24), left bottom (25), right (26)

left (27), right top (28), right bottom (29)
30 :)
Go ahead, take a minute to record your answers. We'll have a word from our sponsors...


#14: Take Myself on a Date, #42: Alchemy NFK, and #52: Photo Story, are off the list!
I'm participating in my third annual 92 Days of Summer challenge. Read about the project here.
.
.
.
.
.
Alright here are the answers!
1) the garage
2) acclaimed events
3) 734 granby st. (next to zed's)
4) oj wholesale
5) new skate ramp
6) texaco building (with the moon!)
7 the beauty parlour by q
8) 112 wilson lane (the old horse stables?)
9) 142 west olney (next to the virginia ballet)
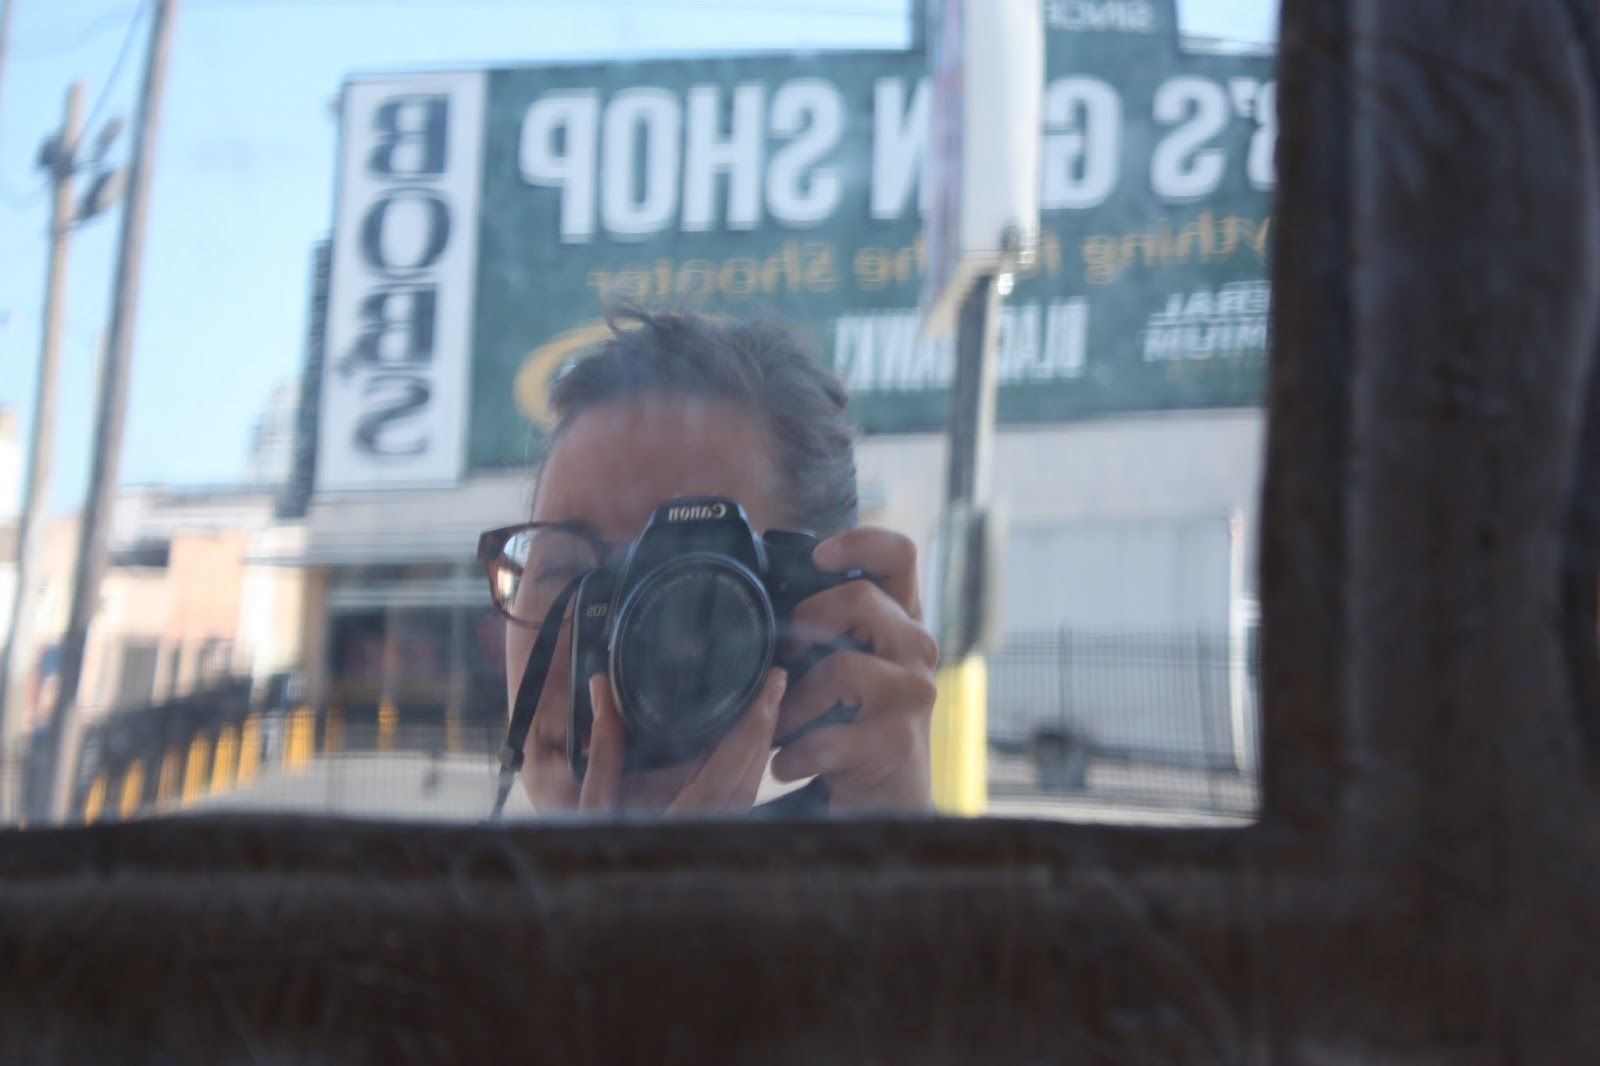
10) bob's gun shop
11) back of studio co-lab
12) norfolk printing company
13) virginia furniture company
14) studio co-lab
15) 801 granby, residences
16) top of zedd's (from wilson ave.)
17) parking lot behind the texaco building
18) parking lot next to alchemy nfk
19) the garage
20) alchemy nfk
21) 763 granby st.
22) virginia furniture company
23) exotic home
24) texaco building
25) stark and legum
26) daevid's floral
27) wilson avenue
28) hayne photography
29) zedd's (olney side)
30) 765 granby street or glass gardens/fairview place

Talley up your score and see where you rank!

0-6: Vacant Retail
Have you been to Norfolk before? Heard of the Arts District? Appears not, but if the dilapidated buildings down here have potential, then so do you! Come out and spend a few hours perusing the neighborhood, you'll be happy you did.

7-13: Starving Artist
We understand, life is hard for you. But you owe it to the Arts District, after all, walking is FREE! Better hit the streets and get a little more familiar with a place that is being created for you!

14-20: Better Blocker
You helped build some pallet furniture, you even told all your friends about 'this art thing happening in Norfolk.' Good job! Now, go to the next level and write your city council, contact Alchemy NFK to volunteer, or get a group of your friends to donate to The Norfolk Arts District today!

21-29: Alchemist
You are a forerunner of transforming dust and dirt into murals and skate ramps. Your attempt to convert medieval city laws into a universal zoning permit elixir is almost complete. Keep up the good work!

All 30: Mayor of Arts Districtville
Really? All 30? You deserve free rent for a year, a coffee shop named after you, and a bicycle lane with your face on it. Norfolkians should aspire to be just like you, an Arts District Rockstar!

Thursday, August 1, 2013

Thrifty Thursday


My Mom is no stranger to me bringing home other people's trash. One time in high school I drove to return a movie to the video store (sounds so primitive) and spotted a rather large mirror next to someone's trash. The mirror weighed more than I did, but it followed me around through college and even to Virginia. When my parents were visiting and we passed this dresser my Stepdad says "Doing some shopping, Ashley?" I had already eyed this gem and was just thinking of the right way to persuade Mike to let me bring it home.


It's Vintage! It's Free! It's on our street, so it has to mean it was meant for me! I know we don't need it, but what's the harm in taking something that will be heading to a landfill? Lucky for me, there was a garage sale that my Mom and I walked to, so we detoured to the dresser. As we approached I spotted another girl leaning over the rather sad-looking piece. It wasn't until this moment I knew I needed to have it. Turns out, she was taking the hardware off the drawers. (By the way, who does that? That's like eating all the free samples and then not buying anything!) Regardless, my Mom and I walked over to check out the leftovers. The dresser was falling apart. It would have to be completely refinished, if not halfway rebuilt. After inspecting the drawers, I decided a few of them would be usable for shadow boxes. So yeah, I took two drawers. I'm not sure what's worse, taking the hardware or just taking two drawers.

Top shelf shows my new bluebird (Michael's clearance for $2) and my Grandmother's milkglass
vase. The bottom shelf holds a clock my Great Uncle Vernon made, owls my sister bought me
from Burma, a random glass vase and a hand-stitched floral picture by my Great Aunt Alice.

Nevertheless, I came home, applied some wood glue, gave the boxes several coats of white paint and purchased three spigots, bolts and nuts (a total of $6.36). Mike attached some hangers to the back of the boxes and we hung them in the guest bedroom. Not too bad for something that was heading to a landfill!


Wednesday, July 31, 2013

Self Portrait: July


Here I am. In motion. I get home from work, throw on some work clothes, haul out all the tools and get to work. This is how July has been (and June too, for that matter). Rushing through one job, just to move onto another. Some days I feel if I read another DIY blog or make another trip to Home Depot to have one of their employees say "You wanna do what...?" I may just explode. But, I wake up bright and early the next morning to log online and see the best approach for my next project.

I can't really complain at all. Mike and I have learned so much. We have done yard work, bug work, plumbing work, rearrange work and electrical work. He has become the master picture hanger. I have become a refinishing guru (kinda). The current project (above) is our biggest to date we're tackling together. We're refinishing an old buffet and china hutch to exactly match the new table (that looks old) we bought last month. Through a team effort, we're working our way through it. Stay tuned until next week when we reveal the finished product!

Thursday, May 23, 2013

Before & After: Tea Cart


Would you believe I found this vintage tea cart at an estate sale for $6? It was originally $12, but Sundays are always half off - my lucky day! It doesn't look too bad here, but was actually rusted pretty bad, so it couldn't stay as is. 


I decided I wanted to do a really bright, loud color. My friend suggested coral, which I thought would be so pretty. However, the full can of green spray paint I bought several months ago to refinish jewelry boxes (like these) was sitting in my closet screaming to be used.


I unassembled the cart easily since it was missed three of the eight screws that held it together. With heavy grit sandpaper I gave all the parts a 15-minute sand job, then wiped clean with a towel. I taped up the white rollers on the feet and gave the entire cart two heavy coats of paint. 


Since it was a gorgeous day outside the whole thing was dry within an hour. I reassembled, added the glass back on top and voila! You might remember this below from Better Block. It was one of our centerpieces when you walked in the shop. I am so happy with the way it came out, it'll be perfect for serving drinks on the patio one day... or maybe a plant holder in the garden.